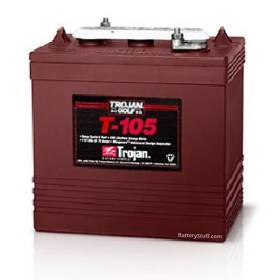
Golf Cart Batteries
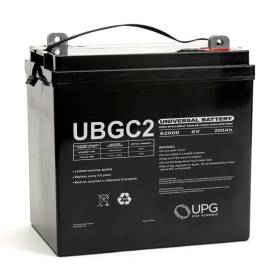
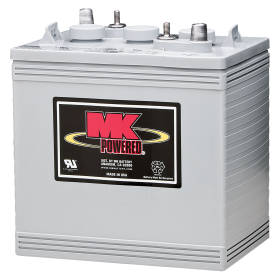
Give yourself that leading edge with Universal, MK, and Trojan, electric golf cart batteries. These high-quality replacement golf cart batteries are recommended for use in E-Z-Go, Yamaha, Club Car, Ruff & Tuff, STAR Electric Vehicles, and many in between. Don’t let a bad battery keep you off the green; keep powered up to get you through any hazard you cross.
What are the best batteries for golf carts?
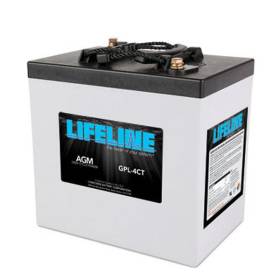
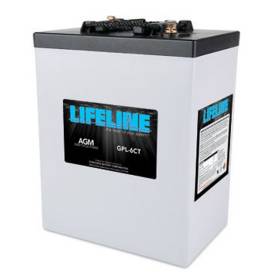
Maintenance Free golf cart batteries offer a hands-off solution versus flooded golf cart batteries. One of the most common reasons for replacing golf cart batteries is due to flooded golf cart batteries not being properly maintained with distilled water as it evaporates. Maintenance Free golf cart batteries come in AGM and GEL technologies and do not need to be maintained with water. Simply keeping them on a maintenance charger when not in use is the only maintenance needed!
How do you replace a golf cart battery?
Changing a golf cart battery isn't difficult. Most golf carts are designed for easy replacement of batteries. Below is a quick step-by-step process change on how golf cart batteries are changed. Things You will Need:
- Wrench or Rachet
- Distilled Water for Flooded Batteries
- Wire Brush or Battery Terminal Cleaning Brush
- Battery Cleaner with Acid Detector & Neutralizer
- Battery Corrosion Preventative Spray
Steps
- Open the battery compartment.
- Take a picture or draw a diagram of your current battery setup before disconnecting. Make special notations of the current batteries orientation noting the location of the positives and negatives, make a note of how the battery pack is connected to the golf cart, and how the connecting wires jump from battery to battery.
- Disconnect the negative cables from the batteries.
- Disconnect the positive cables from the batteries.
- Remove Batteries from the compartment.
- Clean all ring connectors that hook up to the battery pack with a wire brush and Battery Cleaner with Acid Detector & Neutralizer. This should include the golf cart connecting positive and negative wires, and the jumper wires going from battery to battery.
- Re-install batteries in the same the same orientation as you notated in Step 2.
- Reconnect the positive coming from the golf cart to the positive on the battery noted in step two.
- Now starting from the first battery you connected the positive wire to connect your jumper wires till you reach the end of the battery pack. Your last connection should be connecting the negative to the golf carts negative wire.
- Spray your terminals with a Battery Corrosion Preventative Spray.
- For flooded batteries top off the battery with distilled water to the manufacturers recommended level (usually to the bottom of the plastic insert within each cell).
As always we recommend you follow your manufacturers recommend processes as this may not cover all scenarios specific to your golf cart.


